Guide to Contour and Highlighter: How to Sculpt and Glow Like a Pro
The Ultimate Guide to Contour and Highlighter: How to Sculpt, Define, and Glow
Makeup is often described as an art form, but at its structural core, it relies heavily on visual geometry and optics. Few makeup techniques demonstrate this interplay better than contouring and highlighting. Together, these two techniques hold the power to completely reshape, lift, and define your facial features using nothing more than light and shadow.
Whether you are aiming for a soft, everyday natural dimension or a sharp, full-glam look, mastering contour and highlighter is a game-changer. This guide breaks down the science of dimensional makeup, formula selection, placement by face shape, and step-by-step application techniques to help you achieve a flawless finish every time.
1. The Art and Science of Light and Shadow
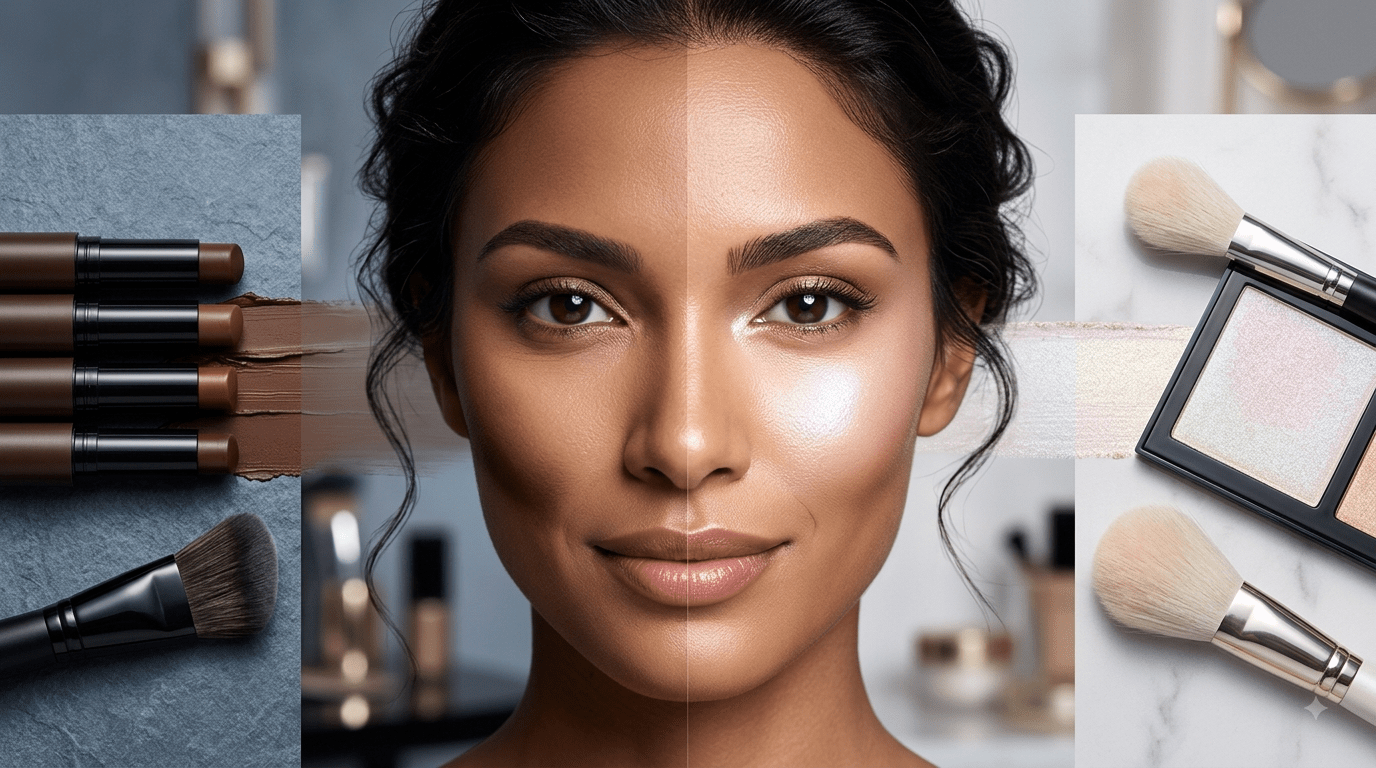
- Contour creates depth. When light hits an object, the areas that recede or turn away from the light source fall into shadow. A contour product mimics these natural shadows. By applying a cool or neutral dark shade beneath your cheekbones, along your jawline, or down the sides of your nose, you trick the eye into perceiving depth, making those areas look slimmer, sharper, and more recessed.
- Highlighter pulls features forward. Conversely, high points that face directly toward a light source reflect brightness. Highlighters draw light toward specific areas, creating the optical illusion that those features are lifted, prominent, and full.
When used together, contour and highlighter balance each other out. Contour structures the canvas, while highlighter brings vitality, radiance, and lift.
Visual placement guide for contour and highlight. Source: innaharlamoff / Getty Images
2. Choosing the Right Formulas: Cream, Liquid, or Powder?
Before jumping into placement, choosing the right formula for your skin type, skill level, and desired finish is essential.
Cream & Liquid Formulas
- Best For: Dry, mature, or normal skin types, as well as anyone aiming for a dewier, skin-like finish.
- Why They Work: Cream and liquid contours and highlighters melt into the skin, integrating seamlessly with foundation for an undetectable, soft-focus dimension. They are easily blended with fingers, dense brushes, or damp beauty sponges.
Powder Formulas
- Best For: Oily or combination skin types, or long-wear, full-coverage makeup looks.
- Why They Work: Powder products sit on top of the skin and offer excellent oil control. They allow for building up intense pigment or subtle matte dimension that lasts all day without slipping.
- Pro Tip: Always set your cream base with a fine translucent powder before sweeping on powder contour to prevent patching and harsh, unblendable lines.
3. Undertones Matter: Bronzer vs. Contour
One of the most common makeup mistakes is confusing bronzer with contour. While both use deeper shades than your skin tone, they serve completely different purposes:
- Contour mimics true shadow. Shadows are naturally cool-toned or neutral with gray or taupe undertones. If you use a warm, orange-toned product to contour, your face will look muddy or muddy rather than sculpted.
- Bronzer mimics sun warmth. It features warm, golden, or red undertones designed to add life and a sun-kissed glow to the high points where the sun naturally hits (forehead, cheeks, bridge of the nose).
Rule of Thumb: Use a cool or neutral shade to contour (recede and carve) and a warm shade to bronze (add warmth and radiance).
4. Tailoring Placement to Your Unique Face Shape
There is no “one-size-fits-all” map for contouring. The key to natural-looking placement is tailoring your technique to your individual face shape.
Tailor your placement to your face shape. Source: Anastasiia Kurman / Getty Images
Round Face Shape
- Goal: Create structure, lengthen the face, and carve out defined angles.
- Contour Placement: Focus on the outer perimeter. Apply along the temples, under the cheekbones (tracing down toward the corners of the mouth), and along the full length of the jawline.
- Highlight Placement: Keep light concentrated in the center of the face—center of the forehead, under the eyes in an inverted triangle, and on the center of the chin.
Oval Face Shape
- Goal: Enhance natural symmetry without over-altering proportions.
- Contour Placement: Apply just under the cheekbones starting from the ears and stopping at the outer corner of the eyes. Add a slight touch near the top of the hairline to balance proportions.
- Highlight Placement: Across the tops of the cheekbones, brow bones, and the bridge of the nose.
Square Face Shape
- Goal: Soften sharp, angular edges and round out the jaw and forehead.
- Contour Placement: Focus on the corners: the sides of the forehead near the hairline and the outer angles of the jawbone. Keep cheek contour soft and slightly angled upward.
- Highlight Placement: Center of the forehead, under the eyes, and on the center of the chin to draw focus inward.
Heart Face Shape
- Goal: Balance a wider forehead with a narrower, pointed chin.
- Contour Placement: Focus heavily on the sides of the forehead and temples to visually narrow the upper face. Sweep under the cheekbones, stopping halfway down.
- Highlight Placement: On the center of the chin to add visual width, under the eyes, and along the bridge of the nose.
5. Step-by-Step Application Guide
1
Prep and Base Application
Ensure a smooth canvas before sculpting
1.Prep and Base Application:Ensure a smooth canvas before sculpting.
Start with clean, well-moisturized skin. Apply your primer and foundation as usual. If using cream contour and liquid highlighter, work directly over liquid foundation before setting with powder.
2
Apply the Contour
Map out your shadows with precision
2.Apply the Contour:Map out your shadows with precision.
Suck in your cheeks or feel for the hollow beneath your cheekbones. Trace a line starting from near the top of the ear stopping alignment-wise with the outer edge of your eye. Lightly shade the perimeter of your forehead, under your jawline, and the sides of your nose if desired.
3
Blend, Blend, Blend
Seamless transitions prevent harsh lines
3.Blend, Blend, Blend:Seamless transitions prevent harsh lines.
Using a dense, angled brush or damp sponge, blend the cheek contour upward toward your temples—never downward, which can pull your face down visually. Blend the jaw contour downward onto the neck to avoid a visible line of demarcation.
4
Set and Refine (If using creams)
Lock in liquid and cream layers
4.Set and Refine (If using creams):Lock in liquid and cream layers.
Lightly dust a translucent setting powder over the face. If you want added intensity or longevity, layer a soft powder contour or powder bronzer directly over the cream shadow areas.
5
Apply the Highlighter
Bring light to the highest points
5.Apply the Highlighter:Bring light to the highest points.
Sweep liquid, cream, or powder highlighter across the high points of your face: the tops of your cheekbones, brow bones, cupid’s bow, and the tip and bridge of your nose.
6. Highlighting Styles: Subtle Glow vs. Glass Skin
Highlighting has evolved into various finishes depending on your personal aesthetic:
- Soft Pearl / Satin Finish: Ideal for everyday wear and professional environments. Uses finely-milled powders or subtle liquid luminizers that reflect light smoothly without visible glitter particle specks.
- Dewy / Glass Skin Finish: Uses clear balms, cream highlighters, or facial oils tapped onto cheekbones to produce a wet, hydrated sheen that mimics healthy, bare skin.
- Metallic / High-Glam Glow: Formulated with intense light-reflecting shimmer or micro-glitter. Perfect for evening events or photography where strong lighting requires maximum impact.
7. Pro Tips to Avoid Common Mistakes
- Avoid Heavy-Handed Nose Contouring: When contouring the nose, keep your lines thin and close together. Spreading contour lines too wide apart makes the nose look broader instead of slimmer.
- Beware of Muddy Blending: Over-blending your contour into your foundation can erase the structure entirely or create a muddy hue. Blend just enough to erase hard edges while preserving the deliberate shadow line.
- Mind Your Texture: Shimmer highlights emphasize fine lines, active breakouts, and enlarged pores. If you have textured skin on your upper cheekbones, opt for a matte brightening powder or liquid concealer rather than a metallic shimmer highlight.
- Natural Light Check: Always check your makeup in natural light before heading out. Harsh indoor lighting often hides harsh unblended lines that become glaringly visible under daylight.
Summary of Essential Techniques
| Element | Contour | Highlighter |
|---|---|---|
| Primary Goal | Create depth, sculpt, and minimize | Add radiance, lift features, and pull forward |
| Tone/Finish | Cool or neutral undertones, always matte | Champagne, gold, or pearl; satin to metallic finish |
| Key Areas | Hollows of cheeks, jawline, forehead perimeter | Tops of cheekbones, brow bone, cupid’s bow, nose tip |
| Best Tool | Angled sculpting brush, dense blending sponge | Fan brush, tapered setting brush, ring finger |
Mastering contour and highlighter is ultimate freedom in makeup artistry. Once you understand the basics of shadow placement, skin undertones, and face shape balance, you can effortlessly customize your routine for any occasion—from a subtle glow to a red-carpet-ready sculpt.